About Me CV Research GitHub Google Scholar
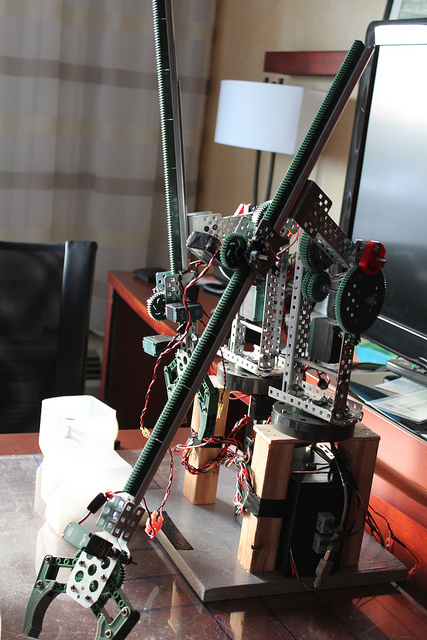
Robot Arm

Science Olympiad
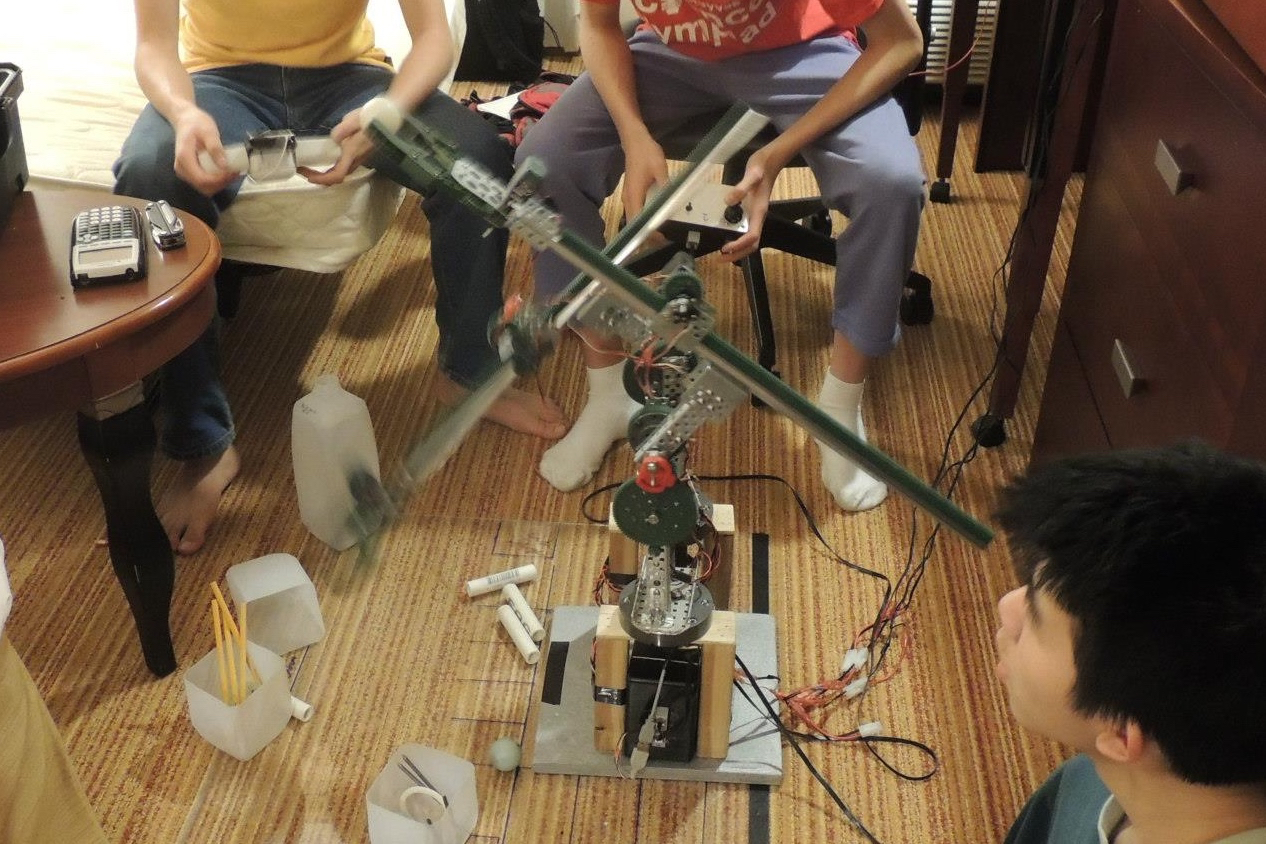
The Robot Arm was a project I built with friends as an Event Leader during junior and senior year in high school. It was entered into the New York Science Olympiad competitions where it placed 8th at both the regional and state level.
Autonomous Mode
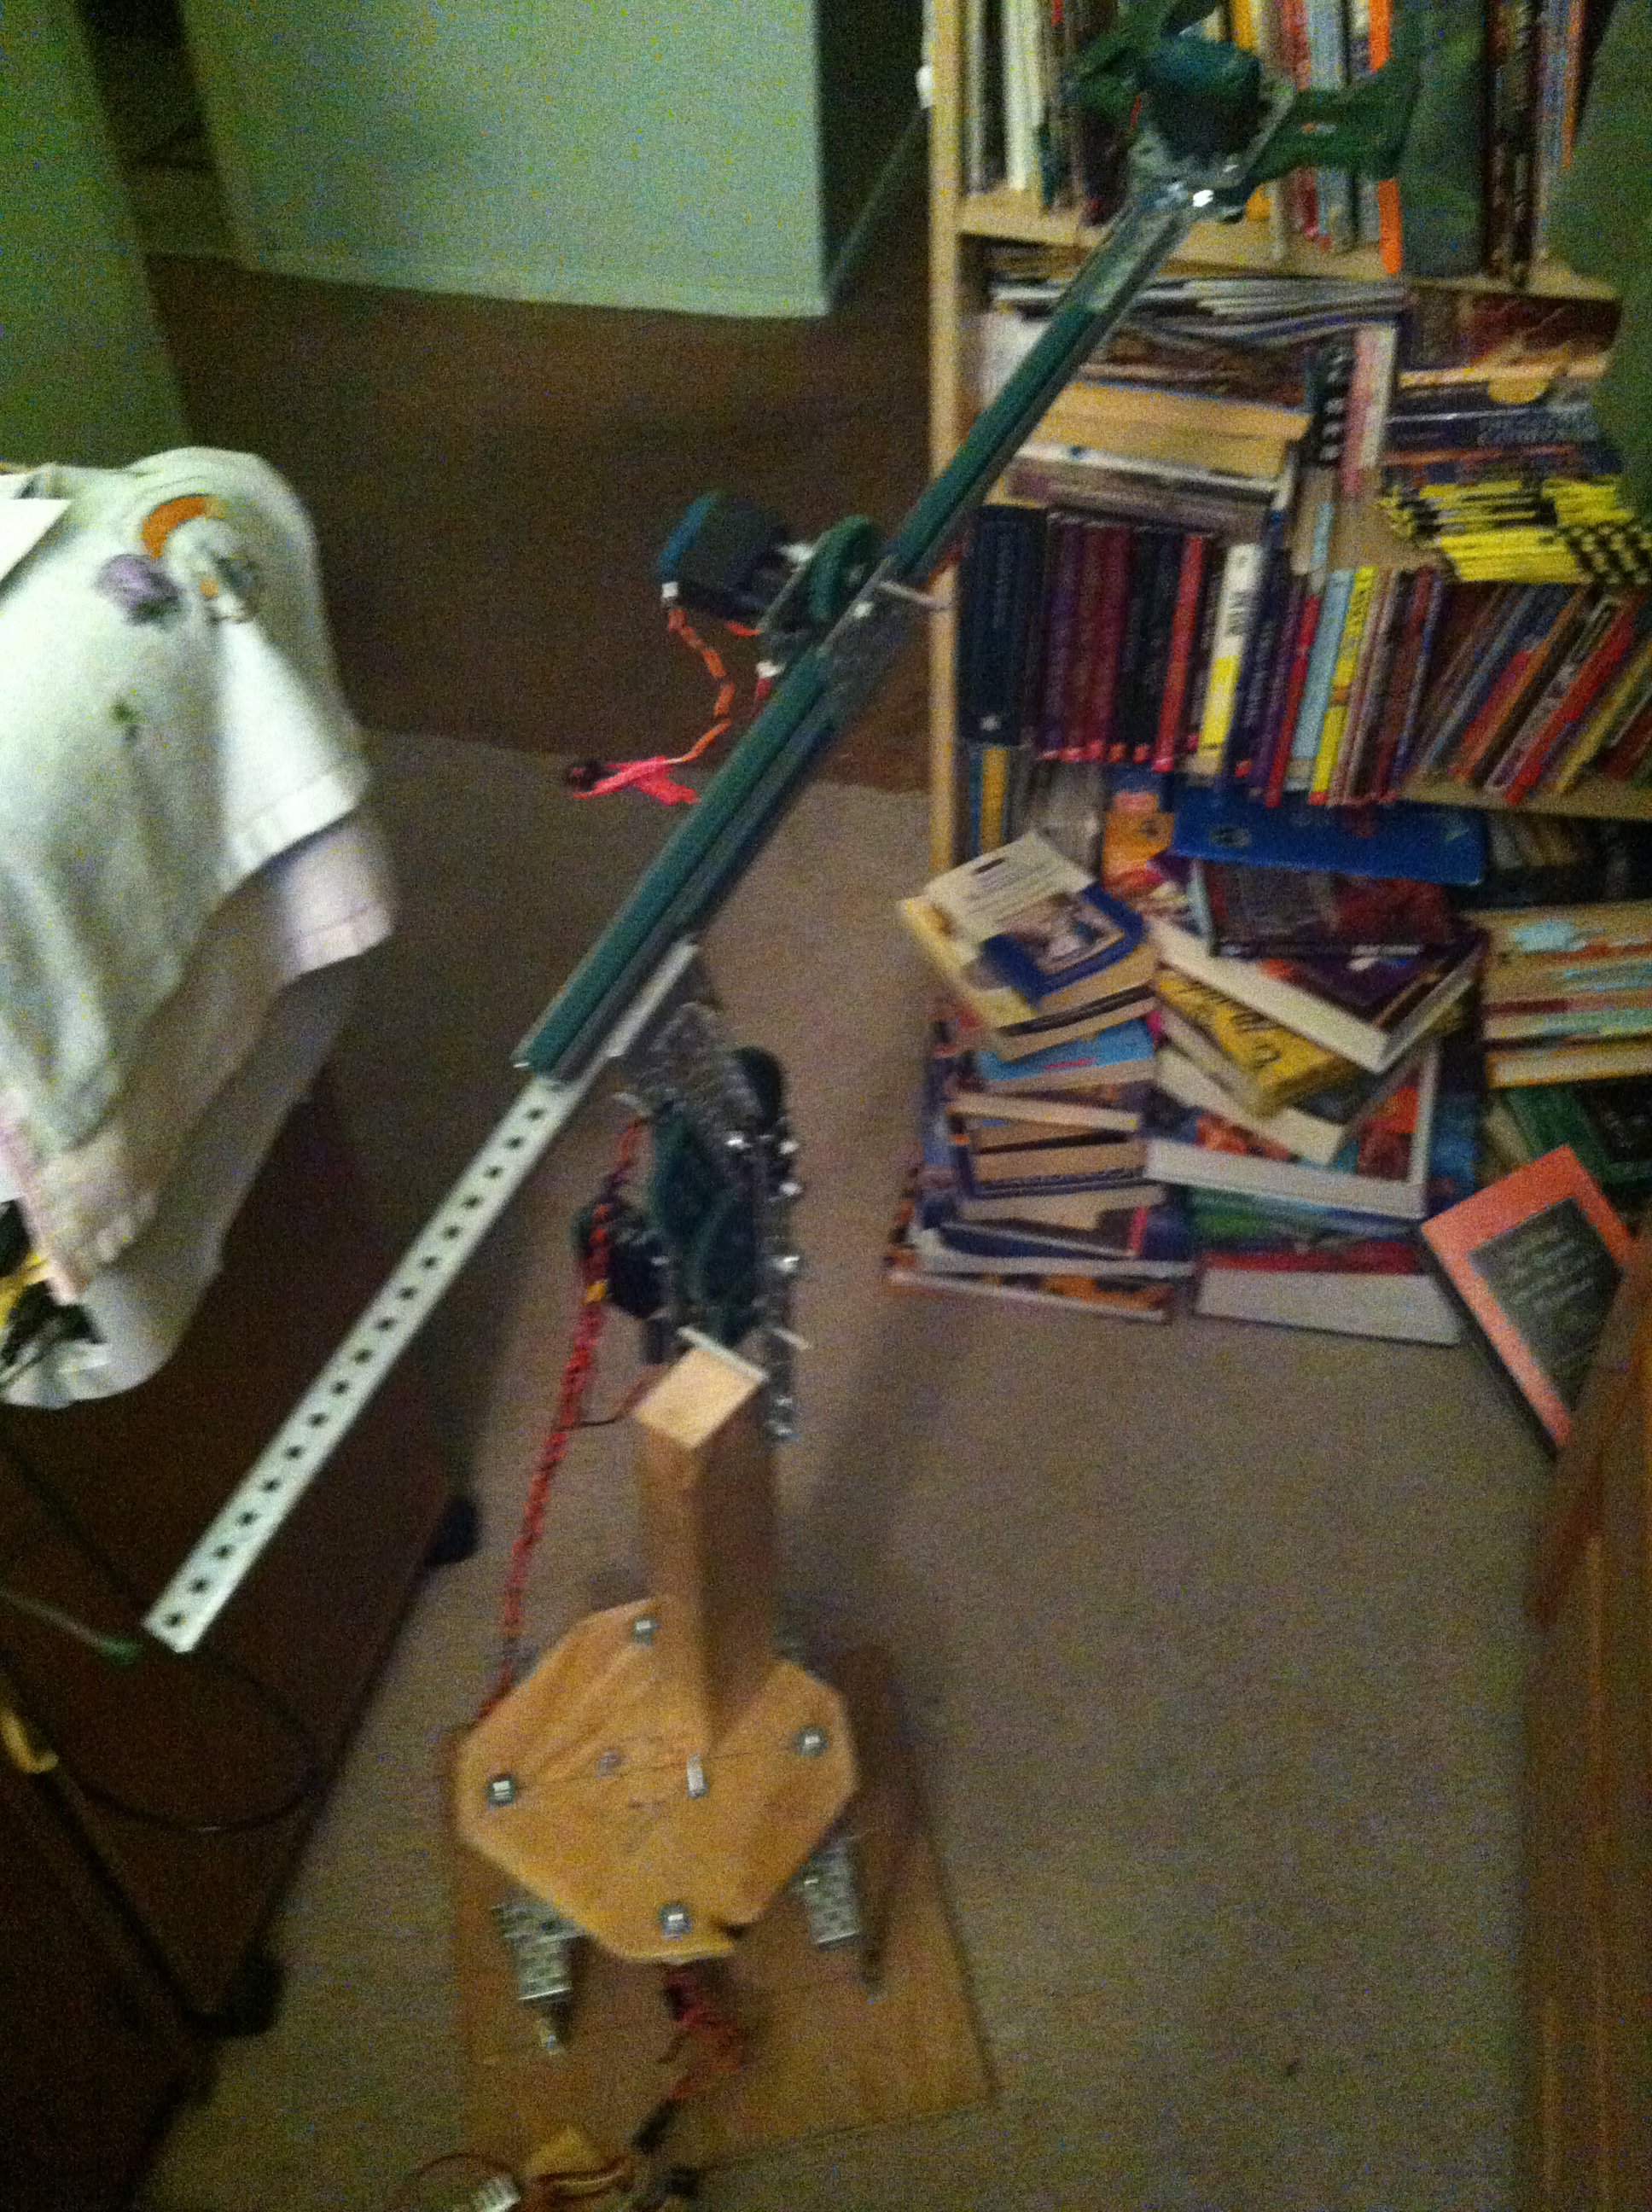
The arms were equipped with potentiometers to monitor the angle of each joint, allowing it to move to any specific position regardless of initial position.
Potentiometers - Multiple motors at once:
Potentiometers - One motor at a time:
Rheostatic braking
When the motors weren't powered, their terminals were shunted (joined) together for braking. Without braking, the arm would always keep drooping if it wasn't actively being raised. Because we had decided to use a microcontroller we could shunt the terminals with a relay while simulataneously cutting power to the motors to prevent short circuits.
Speed and direction control
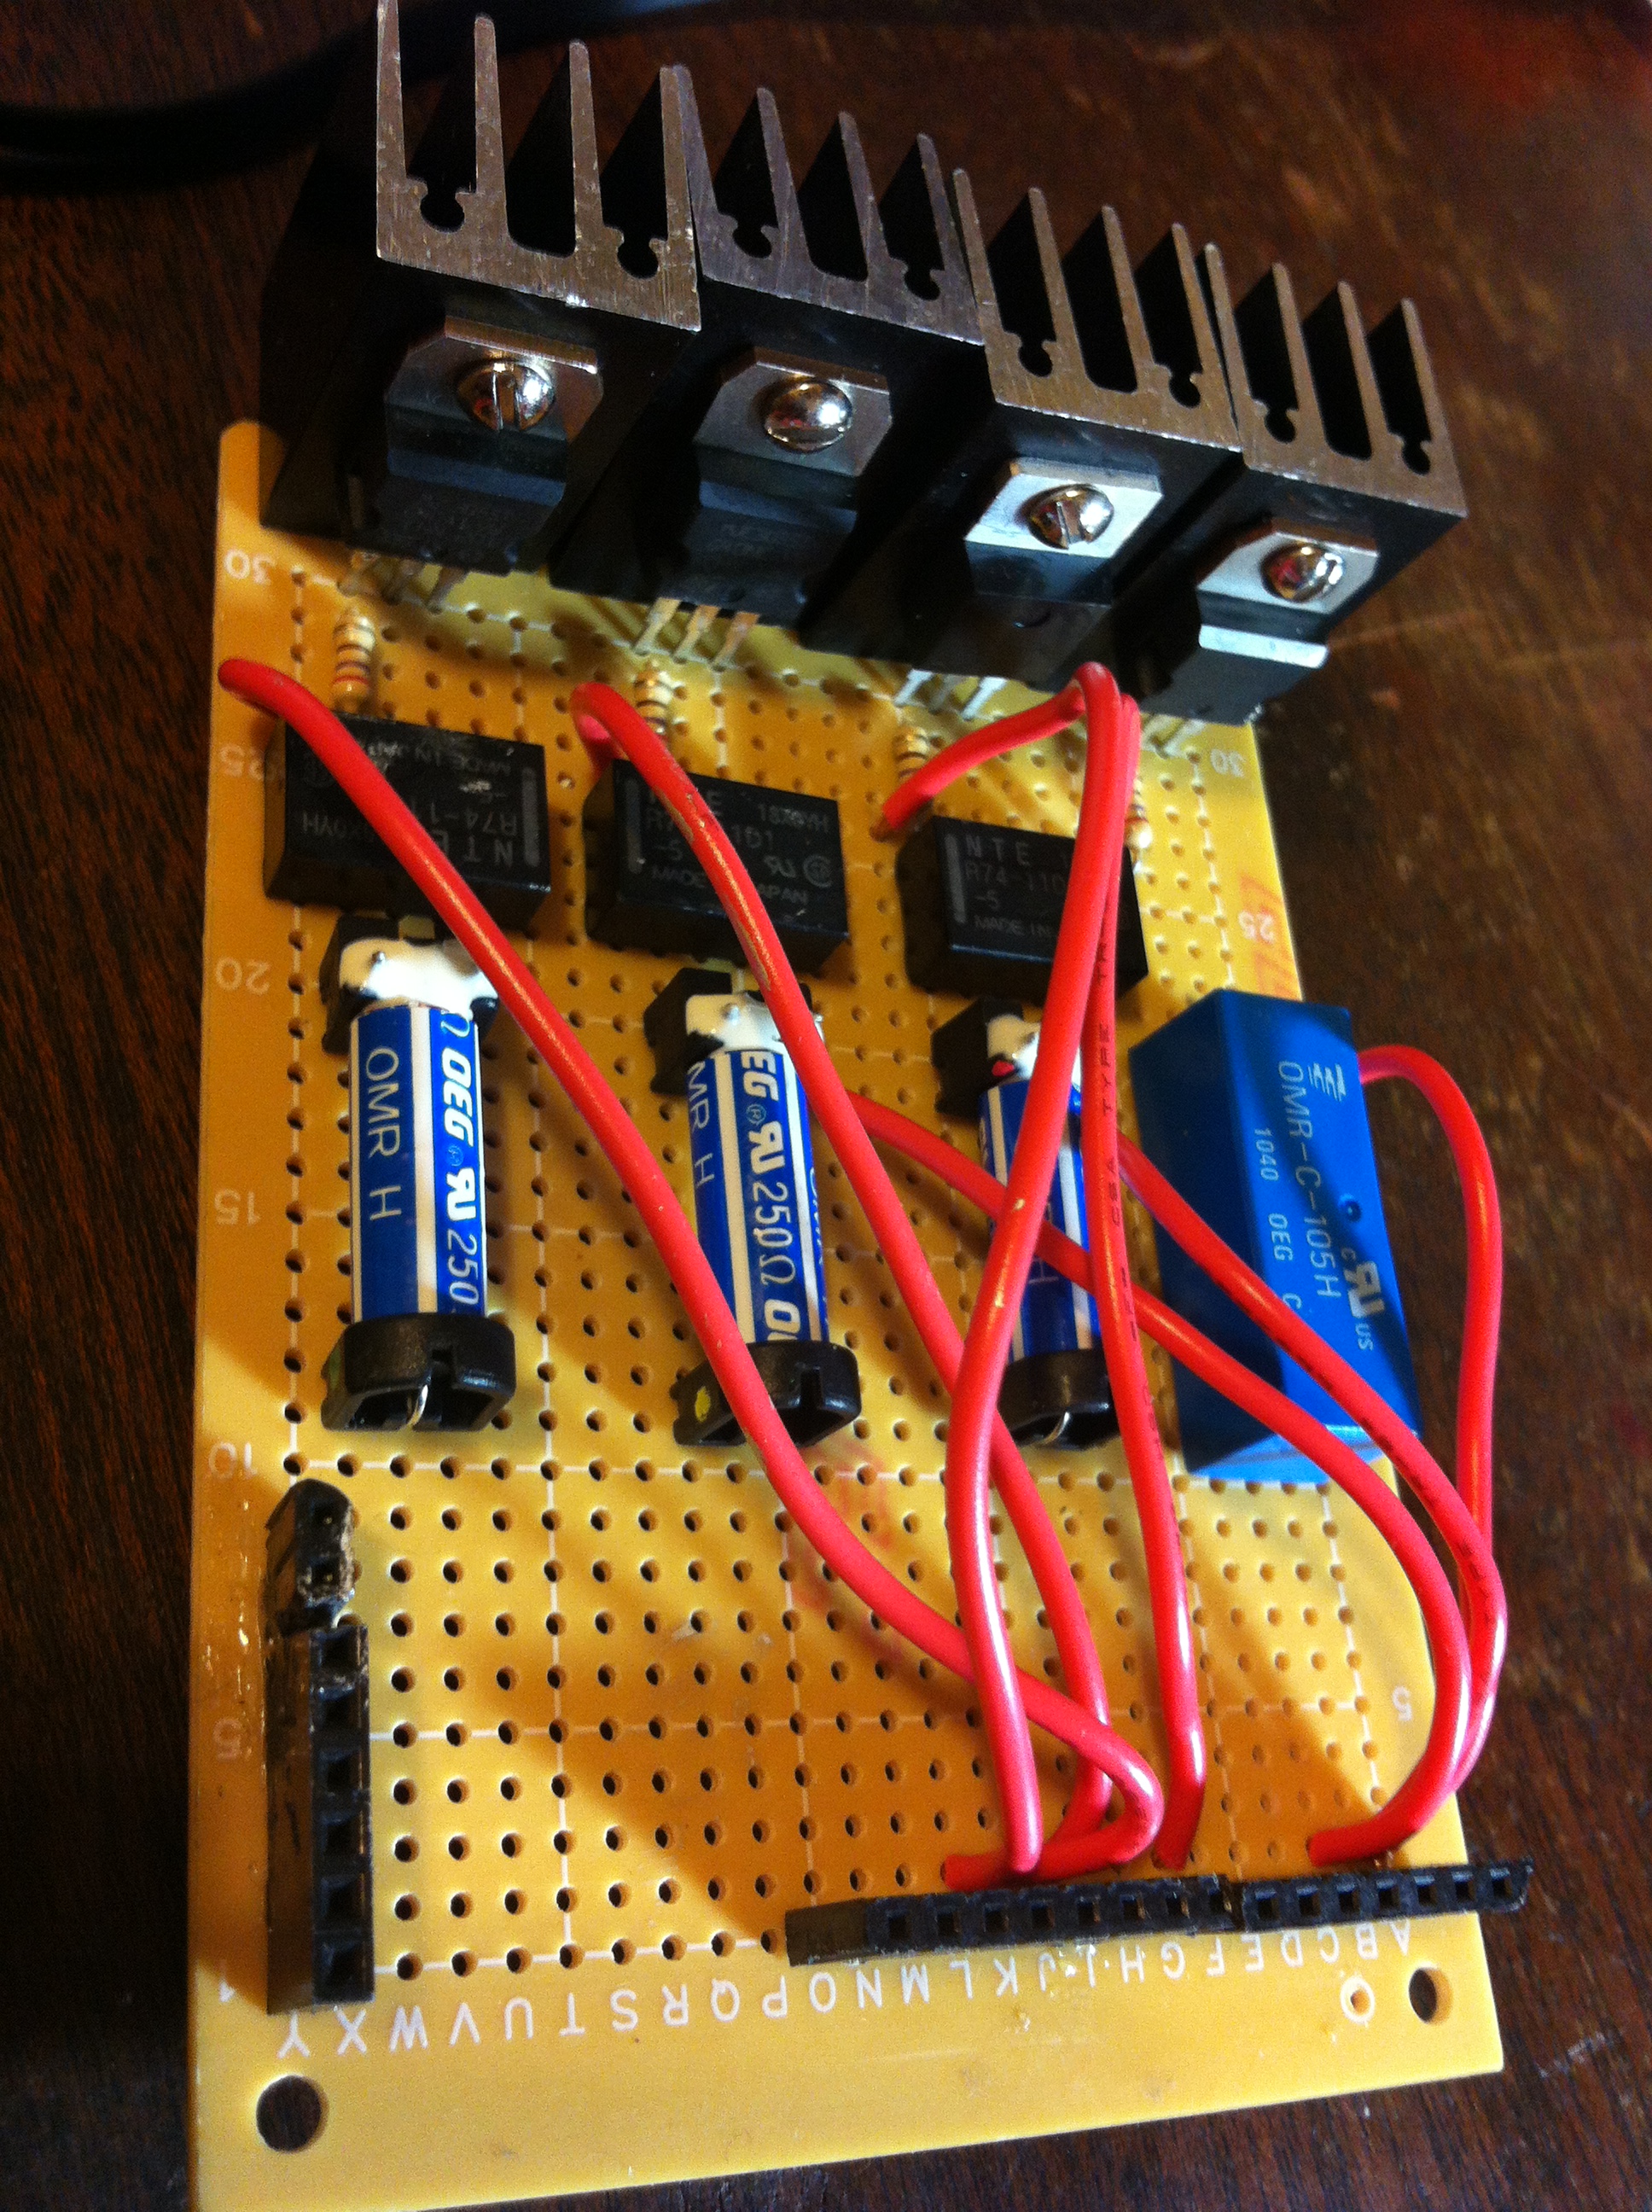
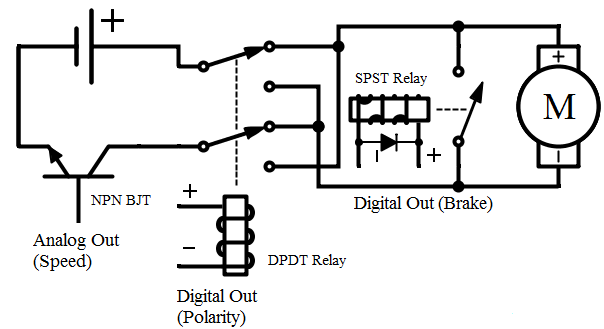
The speed of each motor was controlled with NPN BJT transistors using PWM waves from the microcontroller. To control the direction of (current through) the motor, DPDT relays were used (black). SPST relays were used to facilitate the braking (blue).
Microcontroller and Power
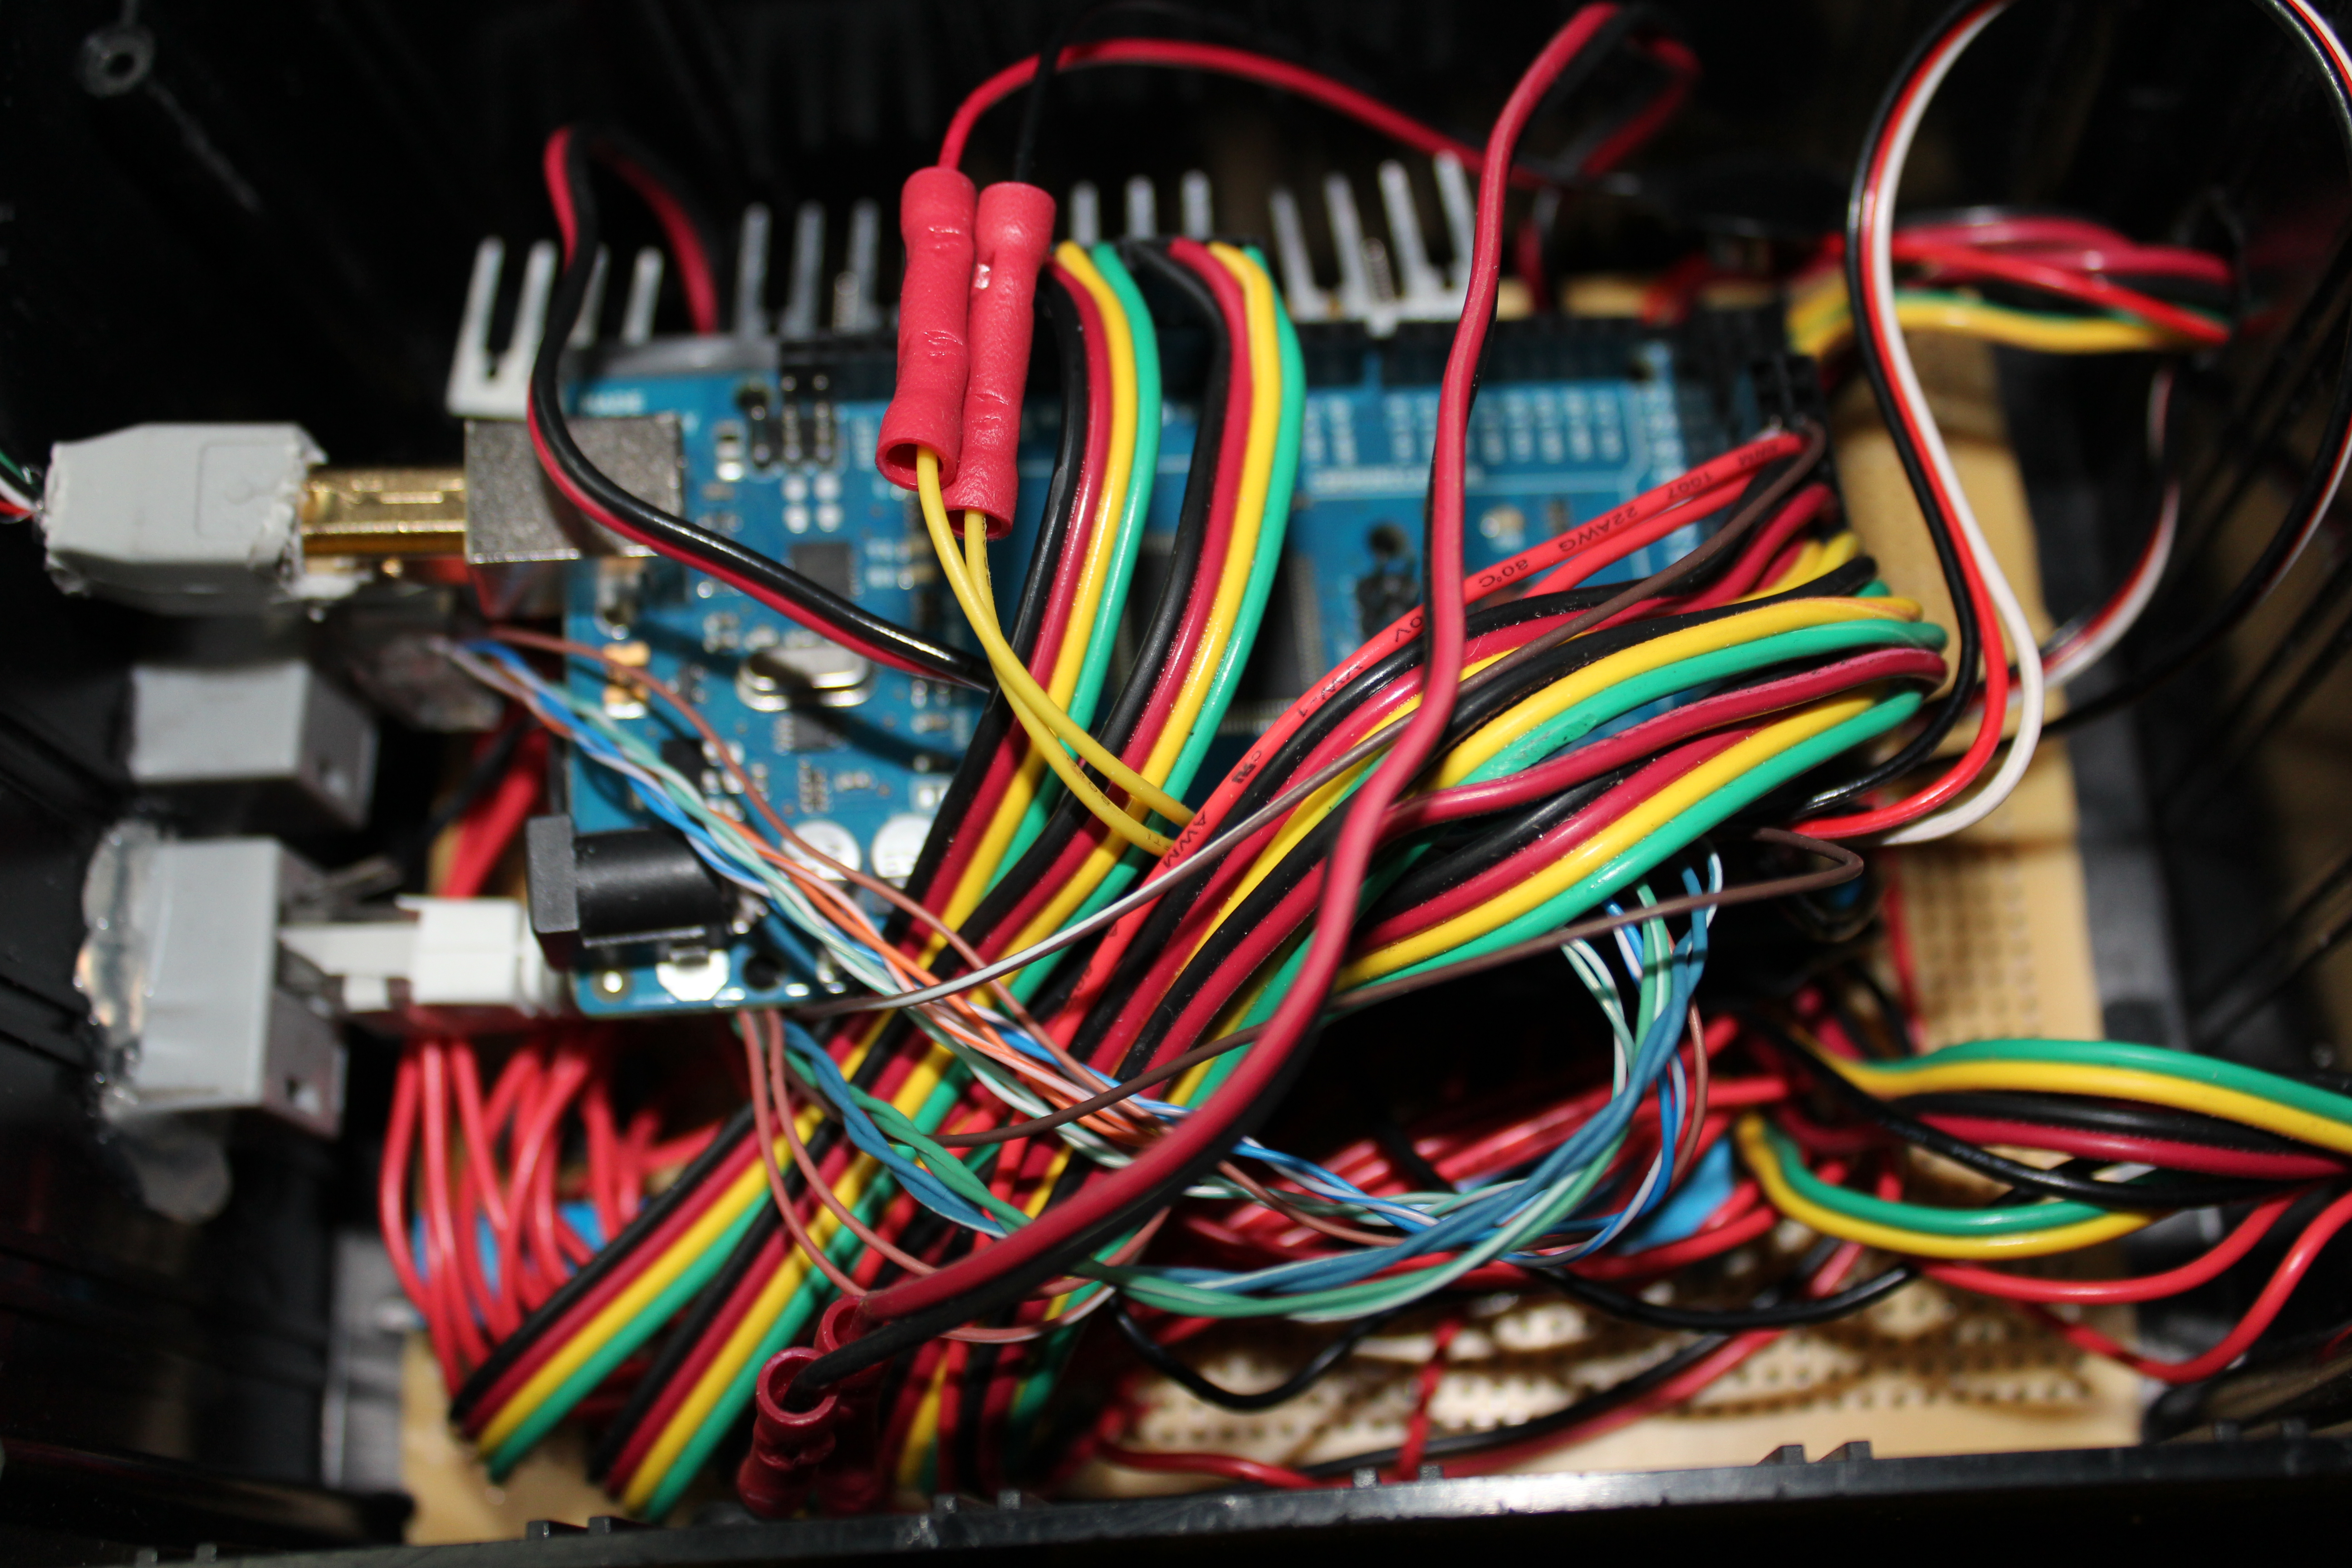
Not pictured: all the time-consuming solder-traces on the underside...
The arms were controlled with an Arduino Mega, powered by four 7.2V 2800mAh batteries in parallel. During driver practice, the batteries were replaced with three 9V 0.7A AC-DC wall adapters (parallel, using a powerstrip haha) for indefinite operation time.
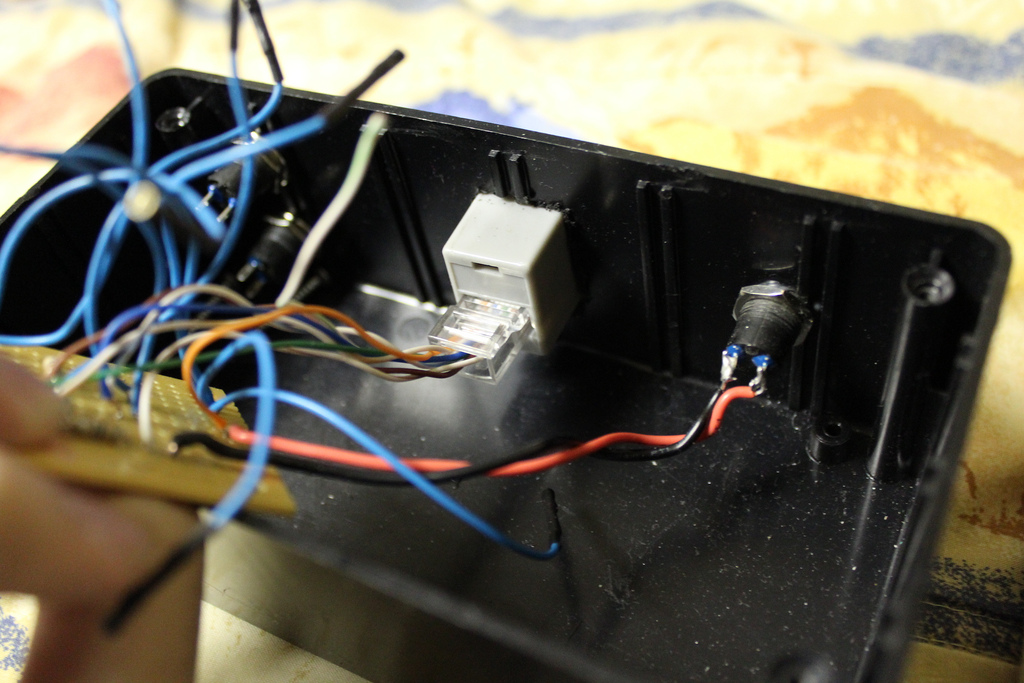
Controls

The two identical control boxes made for the arms might've been my favorite part of this project. The holes made for mounting the switches/buttons were made using a CNC mill!! We wasted so many boxes with innaccurate hand-drilling and drill-pressing that we finally resorted to the most precise way possible. The boxes were also super lightweight, containing only resistors inside. In order to make the boxes even more portable, we used Ethernet cables and hacked Ethernet female ports to connect the boxes to the Arduino. This way we were able to use an 8-conductor connection in a neat, easily replaceable fashion.